
During the planning of my 75 Gallon in-wall reef aquarium, it became increasingly clear that maximizing my sump volume would help to increase the bio-capacity of the entire system. The added water volume created by a large sump would increase the system stability and provide a suitable place to store extra quantities of live rock.
My design criteria was fairly simple:
- Maximize the use of the space under the stand
- Build a no frills sump capable of high flow rates
- Accommodate a fairly large quantity of live rock
- Accommodate a high volume of evaporation
- Safety in design to prevent flooding
Design Notes
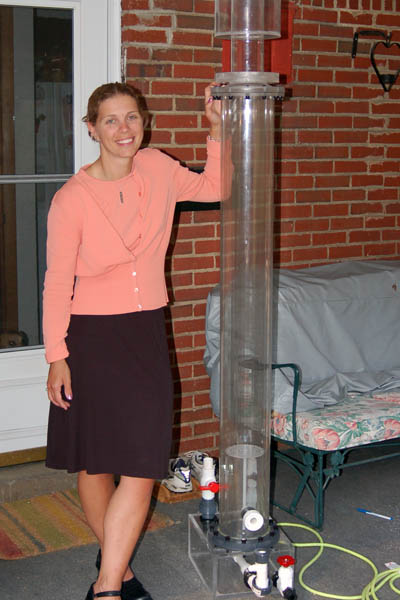
I am not a big fan of the “multi-purpose” style sump that is cordoned off into small, almost useless, compartments that house tiny refugiums and deep sand beds that are too small to make much of a difference. I chose to build a fairly large above tank refugium instead of trying to squeeze one into the sump area.
High flows sump’s can be a hotly debated topic with regard to efficiency. I chose to incorporate a high flow sump to allow for a single large return pump to supply several other components of the system. The refugium, RDSB (Remote Deep Sand Bed), and secondary display tank (future project) would be powered from the main return pump. Using a single pump would save space and allow for easier system maintenance.
Physical Design
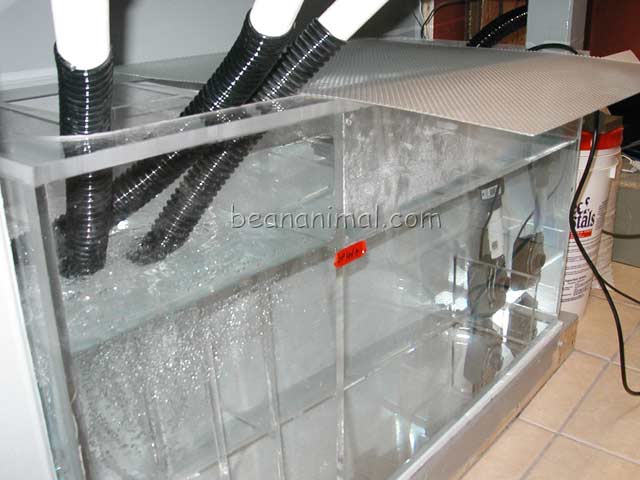
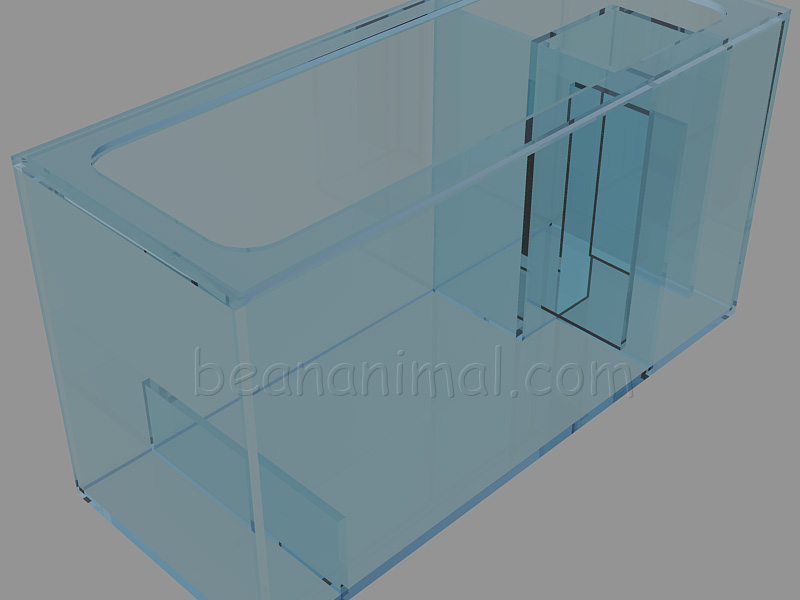
I used AutoCad to refine the plan and create a cut list. The final outside dimensions ended up being 40″ x 16″ x 21″ (L x W x H) with an U-O-U (Over Under Over) baffle arrangement and a return area of 28″ x 15″ x 15″. That is, the return compartment of the sump holds roughly 25 gallons of water. At normal operating level (~15″) the sump holds nearly 40 gallons of water with a backflow capacity of just over 10 gallons.
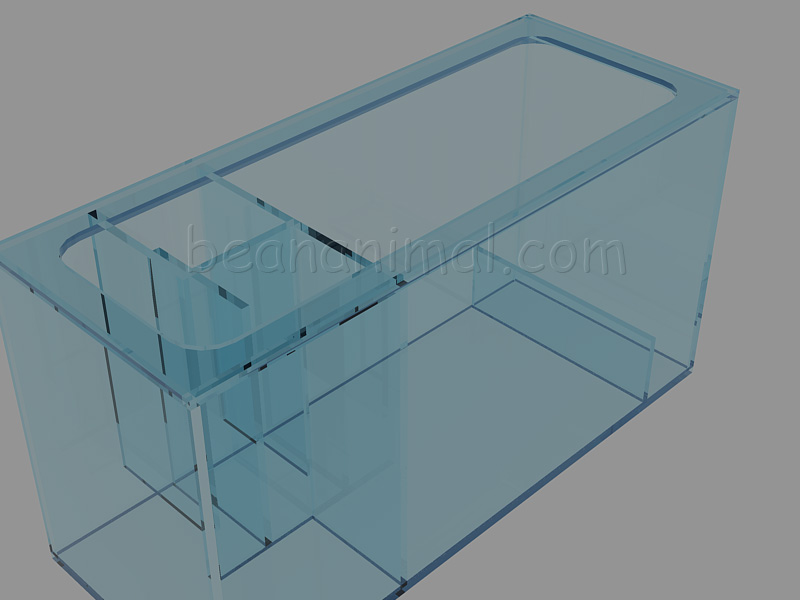
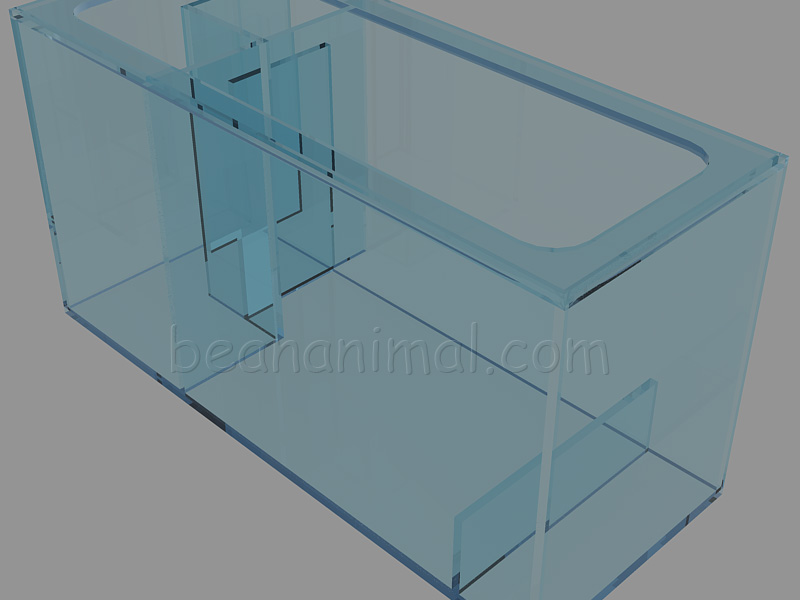
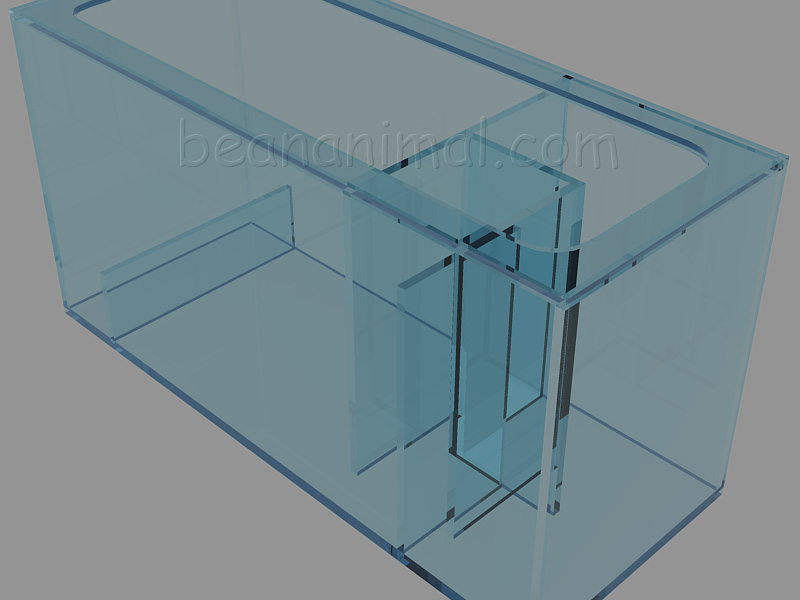
You can download the 3D Autocad DWG file containing the acrylic sump plans HERE.
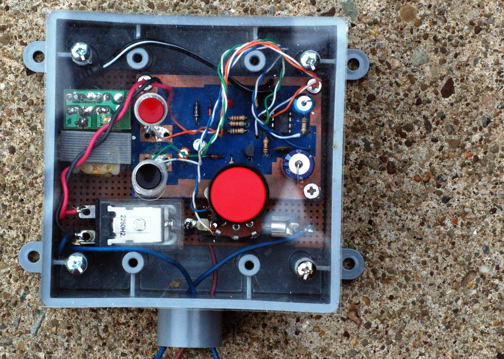
The sumps operating level is controlled by a float valve connected to my DIY ATO system. A 3/4″ bulkhead fitted near the top of the sump (right end) ensures that any flood condition is routed directly the the home’s sump pump. The return compartment is also fitted with a 2″ bulkhead and a 1″ bulkhead (right end) to accommodate a large return pump and a small auxiliary/emergency pump.
Materials
I chose to use 1/2″ cell cast acrylic to construct the entire project. While many others would have used 1/4″ or 3/8″ acrylic, I opted to spend the extra money and do the job right. The 1/2″ cell cast acrylic will not bow or be susceptible to damage. The thicker acrylic cross section also allows for a larger surface area for solvent welding, making for extremely strong joints. I purchased the 1/2″ thick, 4’x8′ sheet of Polycast GP cell cast acrylic form a local vendor (Total Plastics) for about $140 dollars. The price has certainly gone up since 2004 and is likely close to (or above) $300 for the same product now.
The final panel dimensions are no fluke. I sized the sump to fit under my stand while also using as much of the 4’x8′ acrylic sheet stock as possible. The panel was originally optimized (laid out) on graph paper. I have since tried several nesting software (panel optimization) packages. The results below are from one such package and match my hand done optimization exactly.
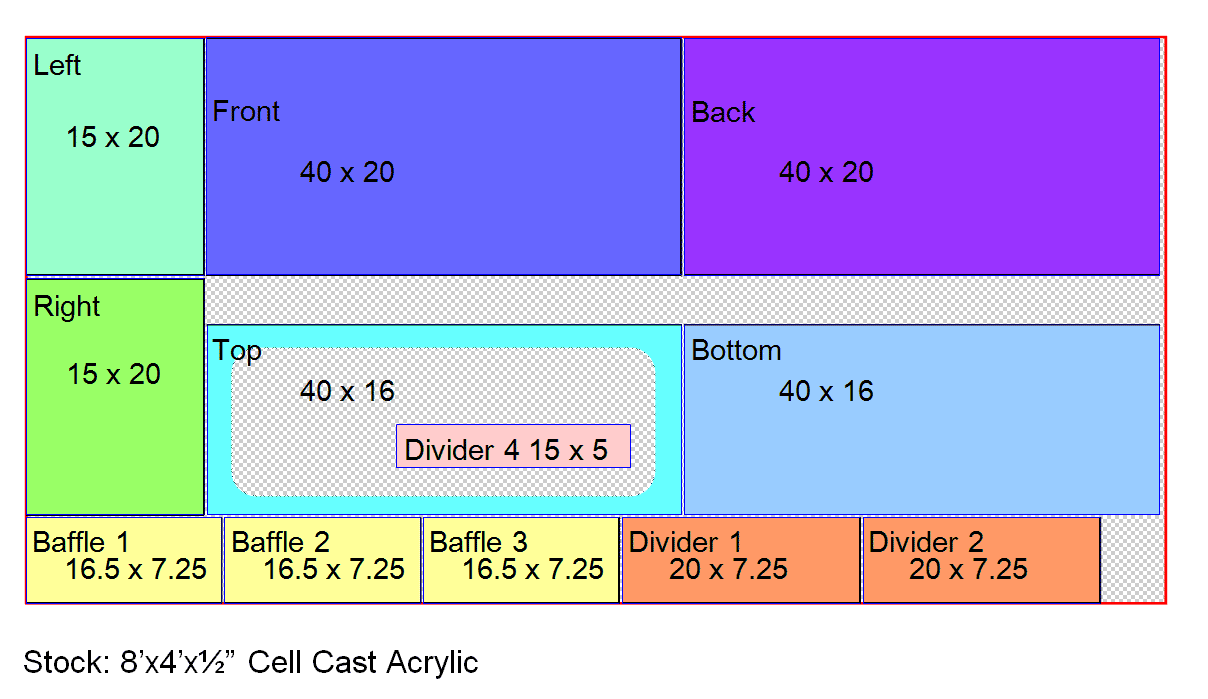
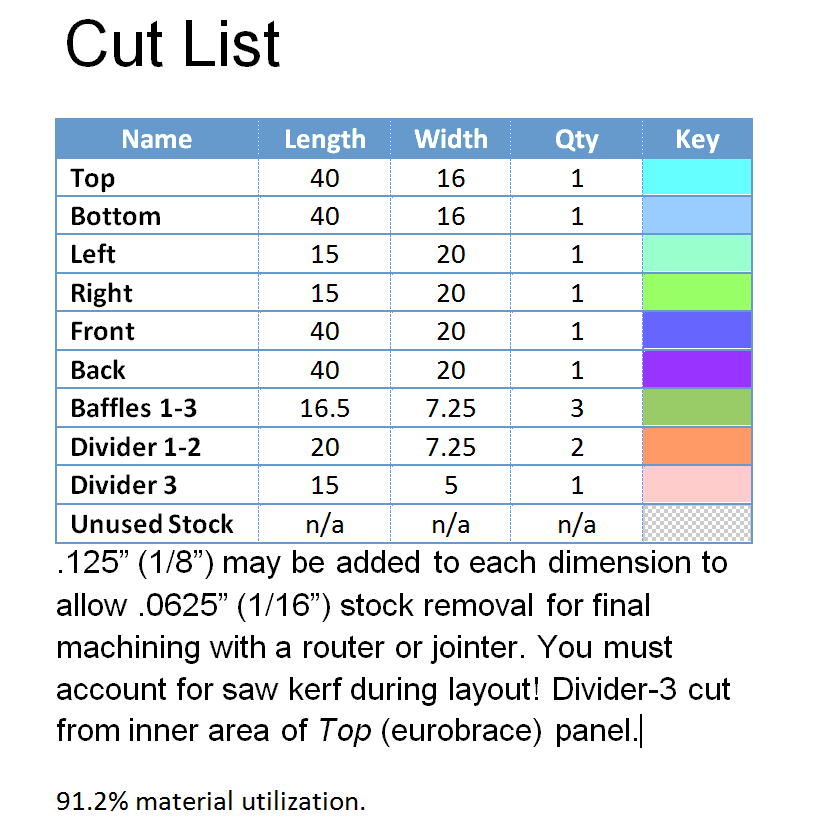
Panel Optimization and Cut List in PDF format HERE
Saws, Blades & Routers
The acrylic sheet vendor (Total Plastics) offered to cut my panel using their CNC tables aw. The blade on the CNC table saw was fairly rough and an initial test pass indicated that it was slightly out of calibration, so I opted to oversize each panel by about .125″ and finish the edges at home. The fact that I already had optimized the panel layout made things go very quickly, at $0.25 per cut, the service was a bargain and saved me hours of work with a helper on my own table saw.
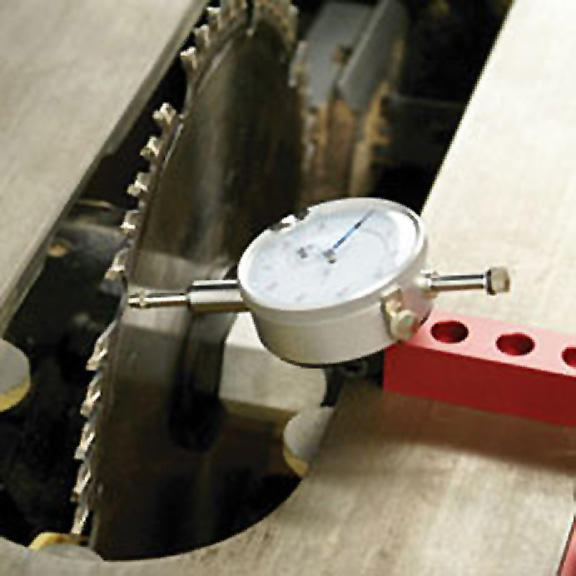
I decided to upgrade my own table saw to prepare for the precision needed for this sump project. The acrylic panels needed to be cut to precise dimensions. I got lucky and found an Excalibur sliding fence with 78″ rails on eBay. The find saved me at least $300! I spent the “saved” cash on a linkbelt, machined pulleys, and a trunnion alignment kit. I like this fence much better than the Jet or Biesemeyer fences that I have used. The added accessories have significantly reduced the saw’s vibration and greatly increased the accuracy. This old Craftsman saw now rivals many of the expensive cabinet saws I have used.
Editors note: I have since (Fall 2018) sold the saw mentioned in this project and upgraded to a Grizzly G1023 Right Tilt Saw equipped with an Incra precision fence that utilizes an Incra positioner for repeatable cuts.
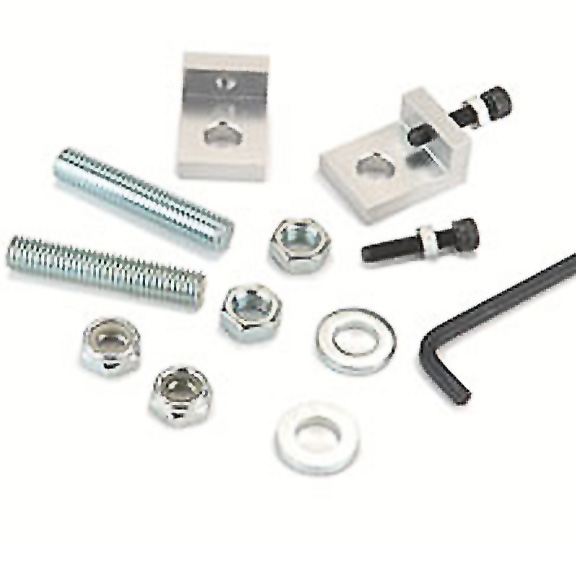
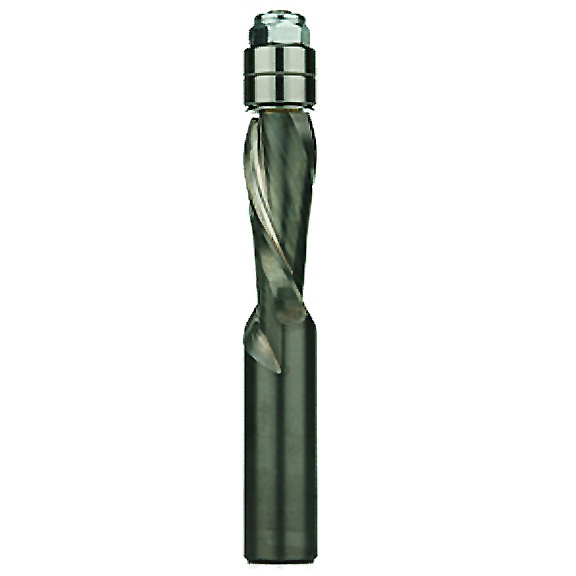
I mounted my best blade, a Forrest Wood Worker 2 (WWII) 40T ATB, to the arbor and made some test cuts using the leftover drops from the sheet stock. I was pleased to find that the edges were more than suitable for solvent welding without any further finishing. For a display tank, I would have taken the finishing a step further using the router and a flush trim or template bit to ensure perfectly clear joints. The Forrest WWII is by far the best table saw blade I have ever owned, but at $130 some of you may not warm to the idea of using it to cut acrylic sheet! Delta is reported to be selling a WWII knock-off (model number 35-7657) that is by many accounts almost as good and only costs $40 or so. For trimming acrylic and following patterns I prefer to use Whiteside (RFTD5125) or Amana brand spiral fluted router bits. Amana makes several bits designed specifically for acrylic. Look for the ‘O’ Flute 46413 and 46411 models.


Solvent Welding
There are several brands of acrylic solvent cement on the market. I opted to use the IPS Weld-on line of acrylic solvent cements due to availability and reputation. IPS Weld-On #4 is a water thin solvent cement that is well suited to cappilary welding.
The (2) parts to be welded are placed close to one another and solvent is applied to the joint with a needle applicator. Capillary action draws the solvent into the joint, softening it. Small pins (sewing needles, push pins, etc) can be used to hold the components apart and allow more solvent to be drawn into the joint. After a pre-determined time has passed, the pins are removed and the (2) components pressed together. This is sometimes referred to as the “pins method” of acrylic welding.
Construction
Construction of the acrylic sump was rather straight forward. The protective paper backing was peeled back far enough on each panel so as not to interfere with the solvent welding process. The first step was to build the baffle box so that it could be set into place as a single unit. The (3) baffles were solvent welded to the baffle wall and set aside to dry. In the meantime, the back panel of the sump was laid on a flat workbench and DIY right angle jigs were used to position the right and left sides for solvent welding. Once the joints were dry, the baffle unit was solvent welded to the back panel and the compartment divider was added along with the front panel. The top and bottom panels were added. After all of the panels were in place holes for the pump, overlflow and heater bulkheads were drilled. The following annimation shows the basic sump building blocks.
Final Thoughts
The sump has performed as expected without any problems. If I had to do it over, I would have incorporated an external compartment to accept the vertical standpipes from the coast to coast (a.k.a Calfo) silent overflow. I would have also possibly added filter socks (see rendering below). The sump is unlit and contains roughly 50 pounds of live rock. It (the sump) is teaming with life including copepods, peppermint shrimp (escaped from the display), feather dusters, sponges, worms, etc.
-BeanAnimal


Add comment